The modern web isn’t just about text and images, it’s a rich, interactive experience powered by multimedia content like audio, video, and animations. These elements help websites engage users, convey information more effectively, and create dynamic, memorable experiences.
Videos have become essential for storytelling, marketing, education, and entertainment on the web. They can boost user engagement, improve retention, and even enhance SEO. Whether it’s a product demo, tutorial, or promotional clip, embedding video directly on a website helps deliver content more seamlessly and professionally.
To support this growing use of video, HTML5 introduced the <video> element, now the standard tag for video in web development. This tag allows developers to embed video files directly into a webpage without relying on external plugins like Flash. With built-in browser support, customization options, and accessibility features, the <video> tag makes it easy to deliver high-quality multimedia experiences across all devices.
Are you new to software engineering and looking to launch a career as a developer? Our software engineering course in Kenya is designed to help you build practical, in-demand skills through intensive, hands-on bootcamps. Enroll today and set yourself on the path to a high-paying tech job in just 10 to 12 months.
What is the Tag for Video in HTML?
Definition of the <video> Tag
The <video> tag in HTML is a standard element used to embed video content directly into a webpage. It allows web developers to include and control video playback without needing third-party plugins. This tag supports various video formats and includes built-in controls like play, pause, and volume adjustment.
Purpose of the Video Tag in Web Development
The primary purpose of the <video> tag is to make it easy to deliver video content in a native, browser-friendly way. It streamlines the process of displaying multimedia, enhances user engagement, and provides a consistent experience across different devices and platforms. Developers can also customize their behavior and appearance using attributes and CSS, or enhance functionality with JavaScript.
History and Browser Support
The <video> tag was introduced in HTML5, marking a major shift toward native multimedia support on the web. Before HTML5, embedding video required plugins like Adobe Flash, which caused compatibility and security issues. Now, the <video> tag is widely supported across all major modern browsers, including Chrome, Firefox, Safari, Edge, and mobile browsers making it a reliable and future-proof solution for web video.
Basic Syntax of the Video Tag
Structure of a Simple <video> Element
The <video> tag works by wrapping one or more <source> tags, each of which defines a video file and its format. The browser selects the first supported format to play. You can also include fallback text that displays if the user’s browser doesn’t support the video element.
Example:
<video width="320" height="240" controls>

  <source src="movie.mp4" type="video/mp4">

  Your browser does not support the video tag.

</video>
Explanation of the Code:
- <video>: The container element for the video.
- width and height: Define the size of the video player.
- controls: Displays default playback controls (play, pause, volume, etc.).
- <source>: Specifies the video file and its format (mp4 in this example).
- Fallback text: Shown if the browser does not support the <video> tag.
This basic structure is all you need to get started embedding videos into your web pages.
Key Attributes of the <video> Tag
The <video> element supports several attributes that control its behavior and appearance. Below are the most commonly used ones:
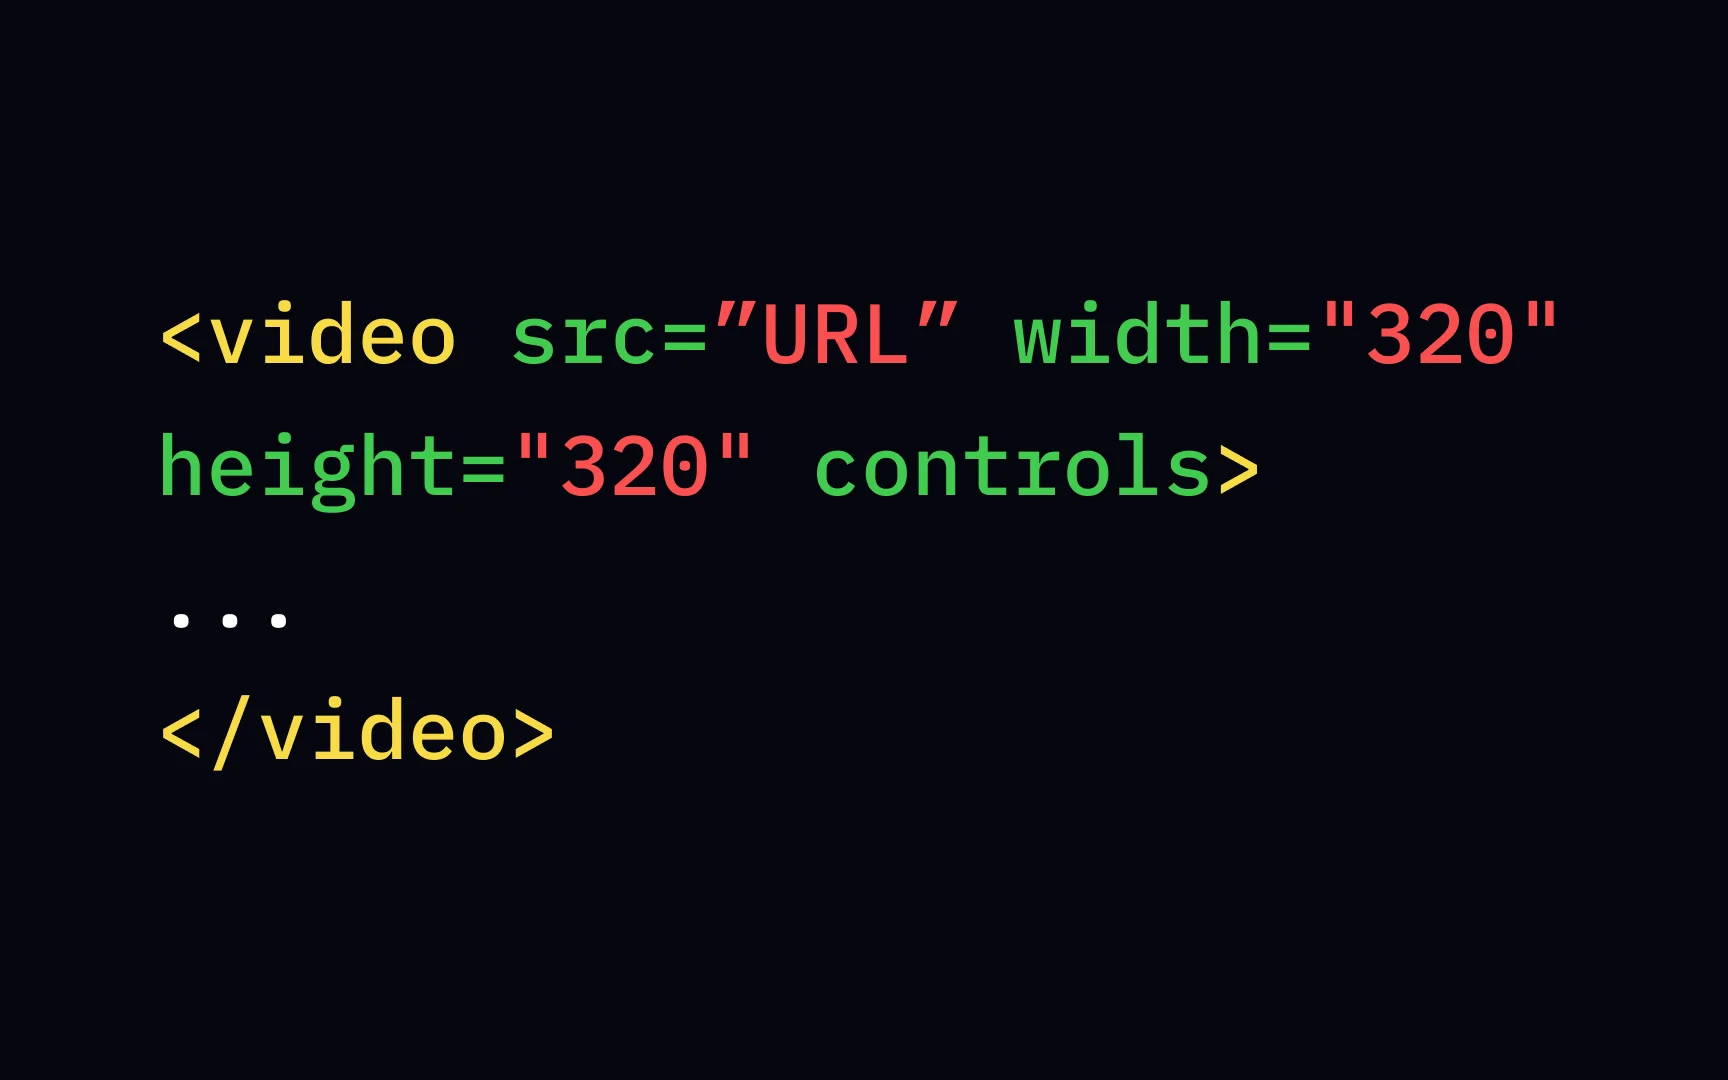
1. src
Specifies the video file URL directly within the <video> tag (though <source> is preferred for multiple formats).
Example:
<video src="video.mp4" controls width="320" height="240"></video>Note: When using multiple sources, it’s better to use <source> elements instead of the src attribute.
2. controls
Displays the default browser controls such as play, pause, volume, and fullscreen.
Example:
<video controls width="320" height="240">

  <source src="video.mp4" type="video/mp4">

</video>
3. autoplay
Starts playing the video automatically when the page loads. Usually used with muted for autoplay to work without user interaction.
Example:
<video autoplay muted loop width="320" height="240">

  <source src="video.mp4" type="video/mp4">

</video>
4. loop
Plays the video continuously by restarting it once it ends.
Example:
<video loop controls width="320" height="240">

  <source src="video.mp4" type="video/mp4">

</video>
5. muted
Mutes the audio of the video by default. Often used with autoplay.
Example:
<video autoplay muted controls width="320" height="240">

  <source src="video.mp4" type="video/mp4">

</video>
6. poster
Displays an image as a placeholder before the video starts or if it fails to load.
Example:
<video controls poster="thumbnail.jpg" width="320" height="240">

  <source src="video.mp4" type="video/mp4">

</video>
These attributes help customize how your video appears and behaves on the webpage, allowing for a more tailored and user-friendly experience.
Supported Video Formats and Codecs
To ensure smooth playback across different browsers and devices, it’s important to understand which video formats are supported and how to implement them properly.
Common Video Formats
- MP4 (H.264 + AAC)
- Most widely supported format
- Compatible with all major browsers (Chrome, Firefox, Safari, Edge)
- Recommended as the default option
- WebM (VP8/VP9 + Vorbis/Opus)
- Open format by Google
- Supported in modern browsers like Chrome, Firefox, Edge, and Opera
- Smaller file size, good for web performance
- Ogg (Theora + Vorbis)
- Open-source format
- Supported in Firefox, Opera, and some versions of Chrome
- Less commonly used today
Best Practices for Using <source> Tags
To ensure cross-browser compatibility, use multiple <source> elements inside the <video> tag. The browser will pick the first format it can play.
Example:
<video controls width="320" height="240">

  <source src="video.mp4" type="video/mp4">

  <source src="video.webm" type="video/webm">

  <source src="video.ogv" type="video/ogg">

  Your browser does not support the video tag.

</video>- Always list the most universally supported format (MP4) first.
- Include fallback formats like WebM or Ogg for broader compatibility.
- Provide fallback text for unsupported browsers.
Using multiple formats ensures your video content is accessible to the widest possible audience.
Adding Captions and Subtitles
Importance of Accessibility
Captions and subtitles play a crucial role in making video content accessible to all users, especially those who are deaf or hard of hearing, or who speak a different language. Providing text alternatives ensures inclusivity, improves user experience, and can even help with SEO.
Using the <track> Tag Within the <video> Element
The <track> tag is used to specify text tracks for video elements. These tracks can be subtitles, captions, descriptions, or metadata. The most common use is for subtitles and closed captions.
The <track> tag must be placed inside the <video> element and supports several attributes:
- src: The URL of the subtitle file (usually .vtt format)
- kind: The type of text track (subtitles, captions, descriptions, chapters, or metadata)
- srclang: The language of the text track (e.g., en for English)
- label: A user-friendly name for the track
- default: Optional; makes this track selected by default
Example of Captions in Use
<video controls width="640" height="360">

  <source src="video.mp4" type="video/mp4">

  <track src="captions_en.vtt" kind="captions" srclang="en" label="English" default>

  Your browser does not support the video tag.

</video>
In this example:
- A video is embedded with English captions.
- The captions file (captions_en.vtt) must be in WebVTT (.vtt) format.
- The default attribute ensures the captions load automatically if supported.
Adding captions makes your content more accessible, professional, and user-friendly.
Styling and Customizing Video Elements
While the default HTML <video> element comes with built-in controls, you can enhance its appearance and functionality using CSS and JavaScript to match your website’s design and user experience goals.
Using CSS to Style Video Players
You can apply CSS directly to the <video> tag to control its size, borders, shadows, and layout.
Example:
<video class="custom-video" controls>

  <source src="video.mp4" type="video/mp4">

</video>
.custom-video {
border-radius: 12px;
box-shadow: 0 4px 12px rgba(0, 0, 0, 0.3);
width: 100%;
max-width: 600px;
display: block;
margin: 0 auto;
}This example adds rounded corners, a shadow, and centers the video on the page.
Responsive Video Design
To make videos responsive across all screen sizes, use a wrapper container and maintain the aspect ratio using padding tricks or frameworks like Tailwind CSS or Bootstrap.
Example using CSS:
<div class="video-container">

  <video controls>

    <source src="video.mp4" type="video/mp4">

  </video>

</div>
.video-container {
position: relative;
padding-bottom: 56.25%; /* 16:9 ratio */
height: 0;
overflow: hidden;
}
.video-container video {
position: absolute;
top: 0;
left: 0;
width: 100%;
height: 100%;
}This approach ensures the video scales properly on desktops, tablets, and smartphones.
Hiding Controls and Using JavaScript for Custom Video Players
You can remove the default controls using the controls attribute and build your own custom interface with HTML and JavaScript.
Example (basic setup):
<video id="myVideo" width="600">

  <source src="video.mp4" type="video/mp4">

</video>

<button onclick="playVideo()">Play</button>

<button onclick="pauseVideo()">Pause</button>
const video = document.getElementById('myVideo');
function playVideo() {
video.play();
}
function pauseVideo() {
video.pause();
}This gives you full control over the video experience and allows for fully branded, interactive video players.
Common Issues and Troubleshooting
Even when implemented correctly, video playback on websites can sometimes run into problems. Here are some of the most common issues and how to resolve them:
1. Video Not Loading or Playing
Possible Causes:
- Incorrect file path or filename
- Unsupported video format
- Missing file on the serve
- Network errors
Solutions:
- Double-check the video file path and spelling
- Ensure the video format (e.g., .mp4) is supported by the browser
- Confirm the file is properly uploaded and accessible on the server
- Use browser developer tools (F12) to inspect errors in the console or network tab
2. Browser Compatibility Issues
Problem:
- Not all browsers support all video formats (e.g., Safari doesn’t support WebM)
Solution:
- Provide multiple <source> tags with different formats like MP4, WebM, and Ogg
Example:
<video controls>

  <source src="video.mp4" type="video/mp4">

  <source src="video.webm" type="video/webm">

  <source src="video.ogv" type="video/ogg">

  Your browser does not support the video tag.

</video>
3. MIME Type Problems
Problem:
- The server doesn’t recognize the video file’s type, causing playback errors
Solution:
- Make sure your server is configured to serve the correct MIME types. For example:
AddType video/mp4 .mp4
AddType video/webm .webm
AddType video/ogg .ogv
This can be set in your .htaccess file or server config (e.g., Nginx or Apache).
4. Fallback Content for Unsupported Browsers
Problem:
- Older browsers or limited devices may not support the <video> element
Solution:
- Always include fallback text or alternative content inside the <video> tag
Example:
<video controls>

  <source src="video.mp4" type="video/mp4">

  Your browser does not support the video tag. Please <a href="video.mp4">download the video</a> instead.

</video>
This ensures users still have access to the content even if the video doesn’t play.
Use Cases and Real-World Examples
The <video> tag is widely used across industries and websites for a variety of purposes. Here are some practical examples where HTML video integration adds value:
1. Embedding Promotional Videos
Purpose:
Showcase products, services, or brand stories to increase engagement and conversions.
Example:
A clothing brand includes a video in the homepage banner to highlight its latest collection.
<video autoplay muted loop poster="cover.jpg" class="promo-video">

  <source src="promo.mp4" type="video/mp4">

  Your browser does not support the video tag.

</video>
Tip: Use autoplay, muted, and loop attributes to play videos seamlessly without controls.
2. Tutorials and Training Platforms
Purpose:
Educational websites and e-learning platforms embed videos to explain concepts, demonstrate techniques, or guide users through software.
Example:
An online course platform includes video lessons with subtitles and playback controls.
<video controls width="800">

  <source src="lesson1.mp4" type="video/mp4">

  <track src="captions_en.vtt" kind="captions" srclang="en" label="English" default>

  Your browser does not support the video tag.

</video>
Tip: Add <track> for captions to improve accessibility and user comprehension.
3. Background Videos in Hero Sections
Purpose:
Create a dynamic and modern visual experience on landing pages or homepage banners.
Example:
A travel website uses a full-width looping background video of scenic views.
<div class="hero-video">

  <video autoplay muted loop playsinline>

    <source src="scenery.mp4" type="video/mp4">

  </video>

  <div class="overlay-content">

    <h1>Discover New Destinations</h1>

  </div>

</div>
Tip: Use CSS to ensure text and overlays remain readable and responsive on top of video content.
From marketing to education to design, the <video> tag is a versatile tool that enhances user experience and brings websites to life.
Use Cases and Real-World Examples
The <video> tag is highly versatile and can be applied in many different contexts. Below are some common real-world examples where it is used effectively:
1. Embedding Promotional Videos
Purpose:
Promotional videos can effectively communicate a brand message, highlight product features, or boost engagement.
Example:
A business might embed a promotional video on their homepage to showcase a new product.
<video autoplay muted loop poster="promo-image.jpg" width="100%" height="auto">

  <source src="promo.mp4" type="video/mp4">

  Your browser does not support the video tag.

</video>
Benefits:
- Autoplay and looping features allow the video to play continuously, keeping the user engaged.
- The poster attribute provides a fallback image before the video loads.
2. Tutorials and Training Platforms
Purpose:
Educational websites often embed video lessons, tutorials, and instructional content. Videos help make learning more engaging and accessible.
Example:
A language learning platform might use videos with captions to assist learners in understanding new phrases.
<video controls width="800">

  <source src="lesson-video.mp4" type="video/mp4">

  <track src="captions_en.vtt" kind="captions" srclang="en" label="English" default>

  Your browser does not support the video tag.

</video>
Benefits:
- controls allow users to pause, rewind, or adjust volume.
- track adds captions, which is essential for accessibility and language learners.
3. Background Videos in Hero Sections
Purpose:
A visually captivating video background in hero sections (large banners at the top of the page) can create an immersive experience and highlight important messaging.
Example:
A luxury hotel website may use a background video of their property to engage visitors immediately upon loading the page.
<div class="hero-video">

  <video autoplay muted loop playsinline>

    <source src="hotel-video.mp4" type="video/mp4">

  </video>

  <div class="overlay-content">

    <h1>Experience Luxury</h1>

  </div>

</div>
Benefits:
- autoplay and loop ensure the video plays automatically without user interaction.
- muted prevents audio interference, which is especially useful for background videos.
These use cases demonstrate how the <video> tag can enhance various types of websites, from marketing and education to design and user experience.
To conclude, the <video> tag is an essential element in modern web development, offering a powerful and flexible way to embed video content directly into websites. Whether you’re showcasing promotional videos, providing educational tutorials, or creating dynamic backgrounds, the <video> tag enhances user experience and engagement.
By utilizing key attributes such as controls, autoplay, loop, and muted, you can tailor video playback to fit your website’s needs. Additionally, ensuring compatibility across different browsers with multiple <source> elements and adding accessibility features like captions will make your content more inclusive.
Best Practices:
- Provide multiple video formats (e.g., MP4, WebM, Ogg) for better browser compatibility.
- Use captions or subtitles for accessibility.
- Optimize video files for faster loading times.
- Consider the user experience, ensure videos autoplay or loop when needed, but never disrupt the content flow.
- Test video playback on different devices and browsers to ensure consistent performance.
By following these best practices, you can create a seamless and professional video experience for your audience, regardless of the platform or device they use.
Begin your journey into tech by enrolling in our web development course. In under 3 months, you’ll learn the essential skills to design and build real-world websites from scratch. Have questions or ready to join? Use the contact form or tap the WhatsApp icon to connect with us instantly.